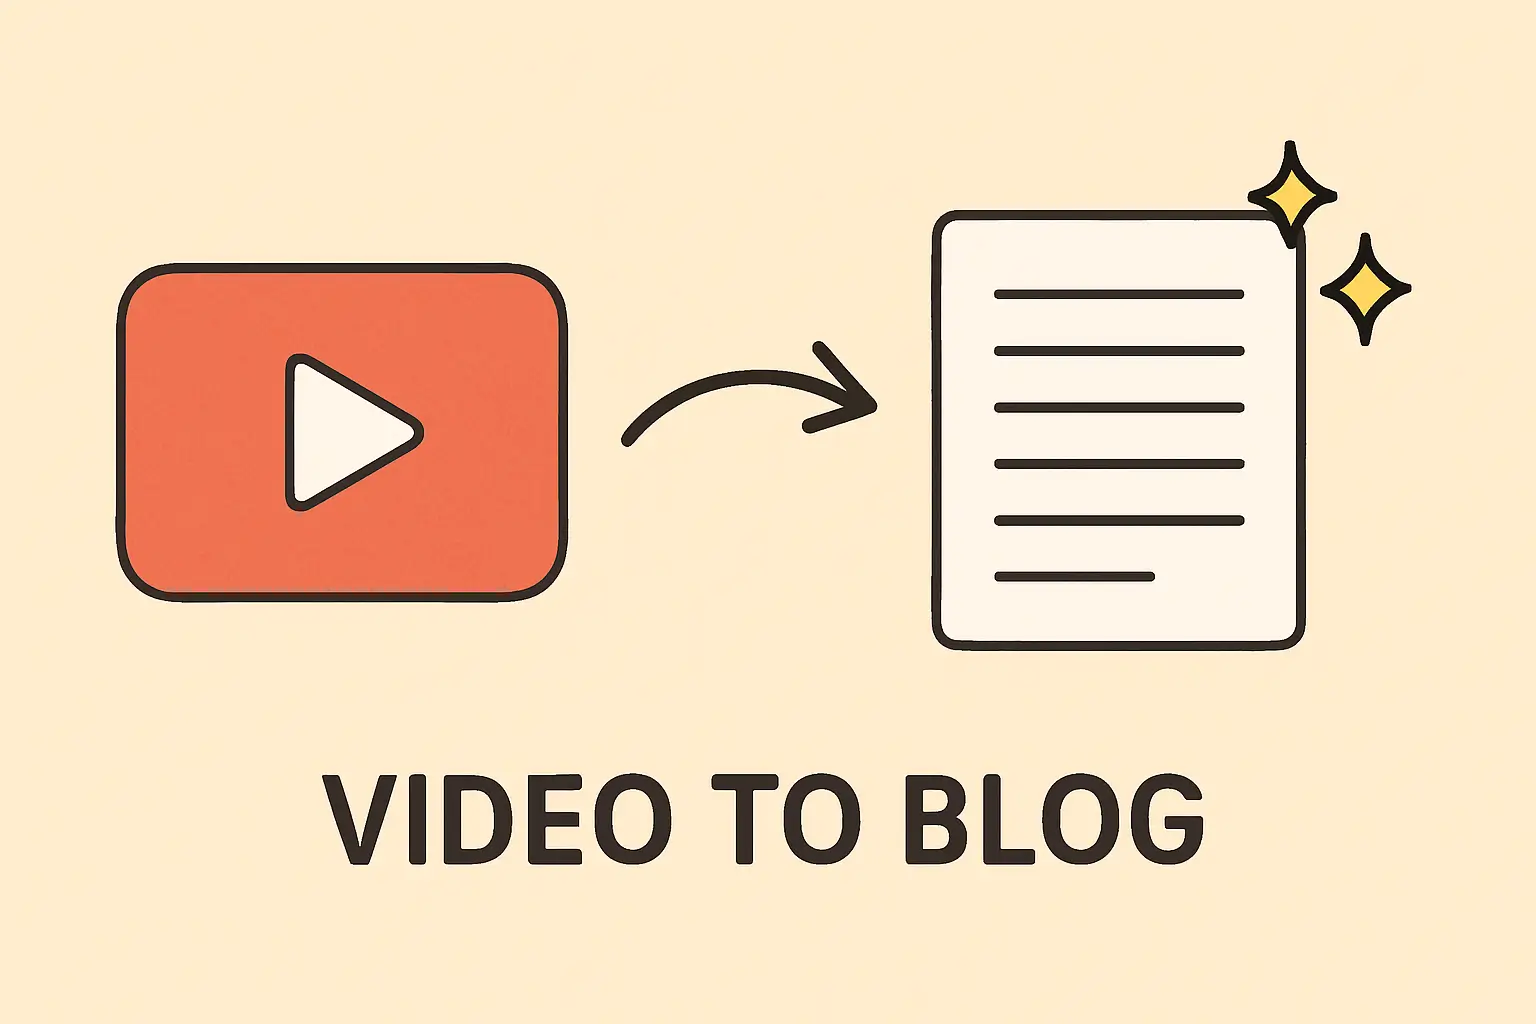
[2025] Ultimate Guide to Converting Videos into SEO-Optimized Blog Posts
TL;DR: Converting videos into SEO-optimized blog posts is a strategic way to enhance your website's visibility, reach a broader audience, and maximize content value. By selecting informative, structured videos like tutorials, webinars, or product demos, and following a systematic workflow—transcribing, outlining, structuring, and optimizing—you can create engaging, keyword-rich content that ranks well in search engines. Using the right tools and avoiding common pitfalls such as unedited transcripts or duplicate content ensures your posts are professional and effective. Regularly measuring performance and updating your content keeps your SEO efforts sustainable and successful.
Table of Contents
Why Convert Videos into SEO-Optimized Blog Posts?
If you’ve got a stash of videos—whether they’re YouTube tutorials, webinars, or product demos—turning them into SEO-optimized blog posts is one of the smartest moves you can make. Here’s why this strategy is a game-changer for your content marketing:
Main Benefits of Turning Videos into Blog Posts
- Boost Your SEO: Videos alone don’t give search engines much to work with since they can’t “read” video content. But when you convert your videos into keyword-rich blog posts, you create crawlable text that helps your site rank higher.
- Reach More People: Not everyone wants to watch a video. Some prefer reading, especially when they’re searching for quick answers or detailed info. Blog posts cater to these readers and expand your audience.
- Drive More Traffic: More content means more chances to show up in search results. Blog posts create additional entry points to your website, increasing your overall traffic.
- Improve Accessibility: Blog posts make your content accessible to people with hearing impairments or those on slow internet connections who can’t stream videos easily.
- Maximize Your Content’s Value: Instead of starting from scratch, you’re repurposing what you already have. This keeps your content pipeline flowing without burning you out.
How Repurposing Video Content Helps SEO and Website Traffic
When you turn videos into blog posts, you’re not just copying and pasting a transcript. You’re crafting content that’s optimized for search engines and your readers:
- Keyword Integration: You can naturally include keywords your audience is searching for, improving your chances of ranking.
- Internal Linking: Blog posts let you link to other pages on your site, boosting SEO and keeping visitors engaged longer.
- Metadata Optimization: Titles, meta descriptions, and headers can be tailored to target specific search queries.
- Increased Dwell Time: Visitors spend more time on your site reading detailed posts, signaling to search engines that your content is valuable.
For further reading, here are 5 key stats on video to blog post generation that you might be interested in.
Choosing the Right Videos to Repurpose

When it comes to turning your videos into SEO-optimized blog posts, picking the right videos is half the battle won. Not every video will translate well into written content, so let’s break down how to spot the winners.
Which Types of Videos Work Best for Blog Post Conversion?
Look for videos packed with structured, informative content that naturally lends itself to text. Here are some top contenders:
- How-To videos: Step-by-step guides that teach something valuable.
- Educational tutorials: Deep dives into a topic or skill.
- Webinars and interviews: Rich discussions with insights and expert advice.
- Product demos and explainer videos: Clear explanations of features or concepts.
- Recent news updates: Timely info that can be expanded with context.
- Ranking lists: “Top 10” or “Best of” videos that organize info neatly.
- Comparison videos: Side-by-side looks at options or tools.
- Explanation videos: Like “10 reasons why” or “how it works” formats.
These videos usually have clear topics, logical flow, and valuable takeaways — perfect for crafting detailed blog posts. On the flip side, videos that rely mostly on visuals or emotional appeal without much spoken content (think: music videos, vlogs, or purely entertainment clips) are tougher to convert effectively.
How to Decide Which Videos Are Worth Turning Into Blog Posts
Not every video in your library deserves a blog post. Here’s how to prioritize:
- Performance matters: Pick videos with strong views or engagement — they already resonate with your audience.
- Evergreen topics win: Focus on content that stays relevant over time, so your blog post keeps attracting traffic.
- Answer common questions: Videos that tackle pain points or FAQs are gold for SEO.
- Fill content gaps: Use videos that cover topics missing from your website.
- Depth counts: Avoid short or shallow videos that don’t offer enough substance to expand on.
Pro tip: Videos with detailed explanations or step-by-step instructions often provide the richest material for blog posts, making your writing process smoother and your content more valuable.
For more info, see this detailed guide on how to choose the right video for blog conversion.
Step-by-Step Workflow: From Video to Blog Post
Here's a step-by-step guide on how to turn your video into a blog post:
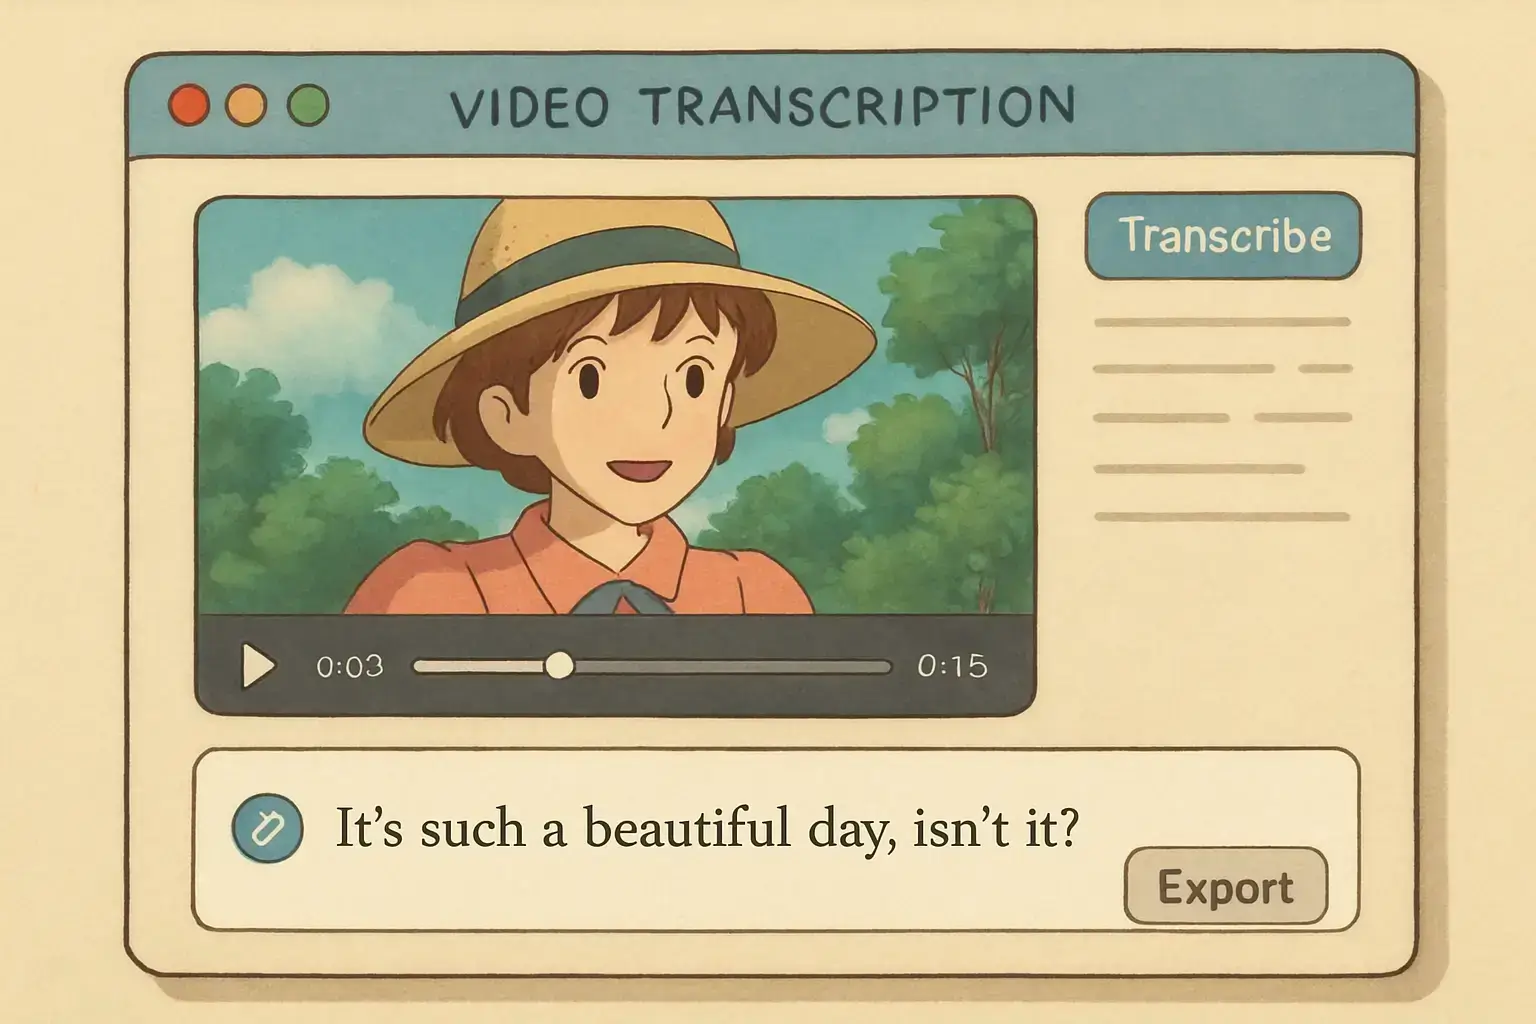
1. Transcribe Your Video Quickly and Accurately
The easiest way to get your video’s words into text is by using automatic transcription tools. These services save you tons of time compared to typing everything out yourself. Some favorites include:
- Video Blog AI (all-in-one tool, transcribes and converts video to SEO blog post)
- YouTube’s auto-captioning (great for unscripted videos)
- Whisper (open-source, handles multiple speakers well)
Once you have your transcript, don’t skip the editing step. Review it to fix errors, clean up filler words, and improve flow. This polished transcript becomes your solid foundation for the blog post.
Pro tip: Automatic transcription accuracy can vary from 80% to 95%, depending on audio quality and accents. Allocate time to proofread and tweak the text for best results.
2. Outline Your Blog Post Based on the Video’s Structure
Next, watch your video with fresh eyes and jot down the key points or sections. Use the natural flow of the video—like intro, main ideas, and conclusion—to build your outline. This helps you organize content logically and keeps readers engaged.
Here’s a simple way to outline:
|
Step |
What to Do |
|---|---|
|
Watch & Note |
Identify main topics and timestamps |
|
Create Headings |
Turn topics into H2 and H3 subheadings |
|
Arrange Logically |
Order points to tell a clear, compelling story |
This outline is your roadmap, making the writing process smoother and faster.
3. Structure Your Post for Readability and SEO
A well-structured post not only pleases your readers but also search engines. Here’s how to nail it:
- Use clear headings (H2, H3) to break up content.
- Start with a brief intro summarizing what readers will learn.
- Write short paragraphs and sentences—keep it simple.
- Use bullet points or numbered lists to highlight key info.
- Sprinkle your primary and secondary keywords naturally.
- Add relevant images or visuals to keep things interesting.
- Link internally to related posts and externally to authoritative sources.
- End with a call to action, like inviting comments or sharing.
This approach boosts your chances of ranking higher and keeps visitors on your site longer.
4. Add Value Beyond the Transcript
Don’t just copy-paste your transcript—make your blog post a resource readers can’t resist. Here’s how:
- Summarize key takeaways in your own words.
- Add examples, explanations, or updated info.
- Include visuals like screenshots, infographics, or charts.
- Share your personal tips or insights to build trust.
- Format with headings and lists for easy scanning.
- Address common questions or objections your audience might have.
By transforming raw text into a helpful, engaging post, you’ll turn casual readers into loyal followers. For more info, check out these tips on how to improve blog posts generated from videos.
Essential Tools and Software

When it comes to turning your videos into SEO-optimized blog posts, having the right tools can make all the difference. Let’s break down the essentials so you can pick what fits your workflow and budget best.
Best Tools for Video to Blog Post Conversion
AI-powered writing tools can help you transform your video into polished, SEO-friendly blog content without starting from scratch. Here are some top picks:
|
Tool |
Highlights |
Best For |
Cost |
|---|---|---|---|
|
One click AI tool for video to blog |
All-in-one tool to turn video content to written content + editing |
Free tier + paid plans |
|
|
Real-time transcription tool |
Fast, reliable automated transcriptions |
Free tier + paid plans |
|
|
Human-edited transcription service |
When you need near-perfect text transcripts |
Paid, per minute |
|
|
Transcription + audio/video editing combo |
Video editing and repurposing in one place |
Paid plans |
|
|
Cheap automated transcription |
Budget-friendly quick transcripts |
Paid, low cost |
|
|
Transcript editing and export options |
Teams working on transcripts |
Paid plans |
|
|
Free automatic captions |
Quick, no-cost option |
Free |
Plugins and Integrations to Speed Up Your Workflow
To save even more time, consider these handy plugins and integrations:
- WordPress transcription plugins like Transcribe or 3Play Media automate importing transcripts directly into your blog editor.
- Zapier can connect your video platforms with transcription and blogging tools, automating repetitive tasks.
- SEO plugins such as Yoast or Rank Math help optimize your posts as you create them, ensuring your content is search-engine friendly from the start.
By combining these tools and integrations, you’ll create a smooth, time-saving pipeline from video to blog post — freeing you up to focus on growing your audience.
SEO Optimization Tips for Repurposed Content

When you’re turning your videos into blog posts, nailing SEO is key to getting your content seen. Here’s how to optimize your repurposed content so it ranks well and drives traffic.
1. Optimize for Keywords Like a Pro
Start with solid keyword research. Find the primary and secondary keywords your audience is searching for—tools like Google Keyword Planner or Ubersuggest can help. Then, sprinkle these keywords naturally throughout your post:
- Title and meta title
- Headings (H1, H2, H3)
- Meta description
- Body content (use variations and related phrases)
- Image alt text and URLs
Avoid keyword stuffing—it’s about balance. Think of keywords as signposts guiding both readers and search engines to your content’s relevance.
2. Master On-Page SEO Essentials
Focus on these on-page elements to boost your blog’s SEO:
|
SEO Element |
What to Do |
Why It Matters |
|---|---|---|
|
Title Tag |
Include main keyword, keep it under 60 chars |
Improves click-through rates |
|
Meta Description |
Write a compelling summary with keywords |
Encourages clicks from search results |
|
URL Structure |
Use clean, keyword-rich URLs |
Helps search engines understand content |
|
Heading Structure |
Use H1 for title, H2/H3 for sections |
Organizes content for readers & bots |
|
Internal Links |
Link to related posts/pages |
Keeps visitors engaged, spreads link equity |
|
External Links |
Link to authoritative sources |
Builds trust and context |
|
Image Alt Text |
Describe images with keywords |
Boosts accessibility and SEO |
|
Page Speed & Mobile |
Ensure fast loading and mobile-friendly design |
Enhances user experience and rankings |
|
Schema Markup |
Add structured data where relevant |
Helps search engines better understand content |
3. Use Images, Headings, and Links Strategically
Adding images isn’t just about looks—they’re SEO gold when done right. Use descriptive file names and alt text with keywords to help search engines “see” your images. Break your content into clear sections with headings to improve readability and SEO structure.
Don’t forget links! Internal links to your other blog posts keep visitors exploring your site longer, while external links to trusted sources add credibility.
4. Embed Your Video for Maximum Impact
Yes, always embed the original video! It creates a richer experience by combining visual and written content. Plus, it signals to search engines that your page offers valuable, multimedia content. Visitors get to watch without leaving your site, which means more time spent on your page and better SEO signals.
Pro Tip: Embed your original video right at the top of your blog post to boost engagement.
Common Mistakes and How to Avoid Them

When you’re turning videos into blog posts, it’s easy to stumble into some common traps that can hurt your SEO and waste your time. Let’s break down the biggest pitfalls and how you can dodge them like a pro.
1. Publishing Verbatim Transcripts Without Editing
Copying your video transcript word-for-word might seem like a quick win, but it often leads to posts that are hard to read and don’t add much value. Raw transcripts usually contain filler words, awkward phrasing, and off-topic tangents that confuse readers and search engines alike.
How to fix it:
- Rewrite the transcript in a clear, conversational style.
- Cut out filler words and irrelevant sections.
- Add your own insights, examples, or summaries to enrich the content.
- Structure the post with headings, bullet points, and short paragraphs for easy scanning.
2. Neglecting SEO Optimization
Just pasting your transcript won’t help your blog rank. You need to optimize your post with relevant keywords, meta descriptions, and a compelling title that matches what your audience is searching for.
Quick SEO checklist:
- Use your target keyword naturally in the title, headings, and throughout the text.
- Write a unique meta description that encourages clicks.
- Include internal links to related blog posts or pages.
- Add alt text to any images you include.
3. Ignoring Duplicate Content Issues
Search engines don’t like seeing the same content in multiple places. If your blog post is just a copy of your video transcript, you risk being penalized or losing ranking.
Tip: Instead of copying, rewrite and expand your transcript. Add fresh insights, examples, or updated info that your video doesn’t cover. If you must use the transcript verbatim, use canonical tags to tell search engines which version is the original.
4. Using Videos That Are Too Informal or Off-Topic
Sometimes your video might be casual, full of tangents, or not quite aligned with your blog’s focus. Posting that as-is can confuse your readers and dilute your SEO efforts.
How to handle this:
- Edit the transcript to keep a professional tone and focus on key points.
- Remove filler words and off-topic sections.
- Add context or explanations to clarify informal language.
- If the video is too off-topic, consider creating a shorter blog post focused only on the relevant parts or pick a different video better suited for repurposing.
5. Skipping Proofreading
Typos and errors in your transcript can make your blog look unprofessional and frustrate readers.
Always:
- Proofread your post carefully before publishing.
- Use tools like Grammarly or Hemingway Editor to catch mistakes and improve readability.
By steering clear of these common mistakes, you’ll save time and create blog posts that not only read well but also rank well. For more info, see this detailed guide on common mistakes to avoid for video to blog conversion.
Measuring Success and Next Steps

Tracking how your repurposed blog posts perform is key to making sure your hard work pays off. You want to know if your content is driving traffic, engaging readers, and climbing the search rankings. Here’s how to keep tabs on your progress and plan your next moves.
How to Track Your Blog Post Performance
Start by setting up Google Analytics and Google Search Console if you haven’t already. These free tools are your best friends for measuring success:
-
Google Analytics shows you:
- Total visitors to your post
- How long people stay (average time on page)
- Bounce rate (how many leave quickly)
- Conversions or goal completions (like newsletter signups or purchases)
-
Google Search Console gives insights on:
- Keyword rankings
- Impressions (how often your post appears in search)
- Clicks and click-through rates (CTR) from search results
Regularly checking these metrics helps you spot what’s working and what needs tweaking. For more information, check out this detailed guide on how to measure SEO for your video-to-blog posts.
What Metrics Should You Watch?
Focus on these key numbers to understand SEO and engagement:
|
Metric |
What It Tells You |
Why It Matters |
|---|---|---|
|
Organic Traffic Volume |
How many visitors come from search engines |
More traffic means better visibility |
|
Keyword Rankings |
Your position for target keywords |
Higher ranks usually mean more clicks |
|
Impressions |
How often your post shows up in searches |
Shows potential reach |
|
Clicks & CTR |
How many people click your post in search |
Indicates how compelling your title and snippet are |
|
Bounce Rate |
Percentage leaving quickly |
Lower bounce means better engagement |
|
Average Session Duration |
How long visitors stay |
Longer time suggests valuable content |
|
Pages per Session |
How many pages visitors view |
More pages = more interest |
|
Conversion Rate |
Visitors completing desired actions |
Measures content effectiveness |
|
Comments & Social Shares |
Audience interaction and sharing |
Signals content relevance and appeal |
|
Backlinks |
Other sites linking to your post |
Boosts SEO authority |
Pro tip: Set up monthly or quarterly reports in Google Analytics and Search Console to track these metrics over time. This way, you can spot trends and adjust your strategy before small issues become big problems.
When and How to Refresh Your Posts
SEO isn’t a “set it and forget it” game. To keep your blog posts ranking and relevant, plan to update them every 6 to 12 months. Here’s what to do during a refresh:
- Add new insights or data from recent videos or industry changes
- Update keywords based on current search trends
- Fix broken links or outdated references
- Improve readability and user experience (like adding images or better formatting)
If your topic changes quickly—think tech tutorials or marketing trends—you might want to refresh more often, maybe every 3 to 6 months.
By regularly measuring your blog’s performance and keeping your content fresh, you’ll turn your video library into a powerful SEO asset that keeps driving traffic and engagement. Keep at it—you’re building something great!
Frequently Asked Questions (FAQ)
What types of videos are best suited for conversion into blog posts?
Videos that are structured, informative, and cover topics like tutorials, webinars, product demos, or comparison lists are best suited for conversion into blog posts because they provide valuable content that can be expanded and optimized for SEO.
What tools can help automate the transcription process for videos?
Tools like Otter.ai, Rev.com, Descript, Temi, Trint, and YouTube’s auto-captioning are popular options for automating video transcription, making it easier to convert video content into text for blog posts.
How can I optimize my blog post for SEO after converting a video?
Optimize your blog post by incorporating relevant keywords naturally into titles, headings, and content; writing compelling meta descriptions; using descriptive image alt text; adding internal and external links; embedding the original video; and ensuring fast, mobile-friendly page design.
What are common mistakes to avoid when converting videos into blog posts?
Avoid publishing verbatim transcripts without editing, neglecting SEO optimization, using duplicate content, posting off-topic or informal videos, and skipping proofreading to ensure your blog posts are valuable, professional, and search-engine friendly.
How should I measure the success of my repurposed blog posts?
Track performance using Google Analytics and Search Console by monitoring metrics like organic traffic, keyword rankings, impressions, click-through rates, bounce rate, session duration, and backlinks. Regularly review and update your content to maintain and improve rankings.